GNU Image stuff

GNU Image techniques:

  • Highlight a path (could be text), the R-click > Edit > Stroke path and you can select how to draw the path (maybe using pencil, make sure your pencil width is the width you want.
  • Long Shadow with Filters > Light and Shadow > Long Shadow
  • Halftone effect with Filters > Distort > Newsprint, change Pattern to 'Circle', then go to Colors > Color to Alpha (turns white background to Alpha ie transparent, so any image below the image, could be the same image, will show its colors through). Then if you 'lock' the layer with the Alpha channel (click the alpha grid above the layers list) then you can select a color (the regular way) and drag the color over onto the layer to change its color.
  • Make text duplicate and then wrap in a cylinder https://www.youtube.com/watch?v=ZhkSi1pSX0w&list=PL_7viLFyJ7sCLguZdKJ9dAbUUXRy13VOF&index=12
  • To duplicate text, click the 'duplicate layer' button a few times. Then click on the tool 'Alignment' (it's an alternative to 'Move' ie top-left) and drag around the object (which will select all lower levels also) and then you can 'Distribute targets evenly on the horizontal' on the pane on the left and it will space them out evenly. To wrap the object, go to Help > Search and Run a Command and type 'map object' and select cylinder if that's what you want.
  • Heal tool: CTRL + L-click to pick what you want your 'heal' to look like
  • Reduce colors Image > Mode > Indexed
  • Make a shortcut for ‘stroke selection’ ... Edit>Keyboard shortcuts then enter stroke in the search bar at the top. You will find two functions: stroke-selection and stroke-selection-last-values. The first elicits the same dialog as Edit>Stroke selection, the second is the same as Edit>Stroke selection+[enter] without changing values.

Tools and Shortkeys:

SUBVERSION OF POWER:

  • is in fill, in the details it has 'pattern fill'
  • PATTERNS: Export any image as .pat, then move that file to /home/COMPUTERNAME/GIMP/2.10/patterns, and then restart GNU Image
  • Make halftone. Duplicate your image and go to Colors > Exposure and take the Black level down (so everything looks kinda grey. Now apply the Filter > Distorts > Newsprint and make the Pattern a circle. Now go to your other unedited image and highlight all the black and copy paste it onto the image you edited with Exposure and Newsprint.

OUTLINES
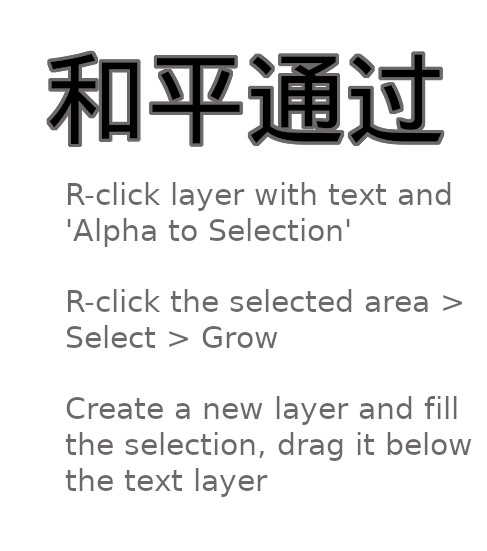
Image

MULTIPLES for STICKERS

Filters > Map > Tile ... and then select the size

OUTLINES

Filters > Edge detect > Edge ... Laplace

SCREENPRINT BY DEVIDING THE IMAGE INTO 4 COLORS

full color - CMYK

Gnu image doesn't have (and won't soon) CMYK, so use Photoshop.

Resynthesizer plugin

  • (DID NOT WORK)
  • will be located in Filters > Enhance > Heal
  • update then
  • sudo apt install gimp-plugin-registry
  • but doesn't work on new Ubuntus because they removed gtk2. You could try an older Ubuntu. Or install gtk2 with:
  • sudo apt-get install gtk2.0 (this installs a ton of stuff)
  • then
  • sudo apt-get install build-essential libgtk2.0-dev

Gradient border
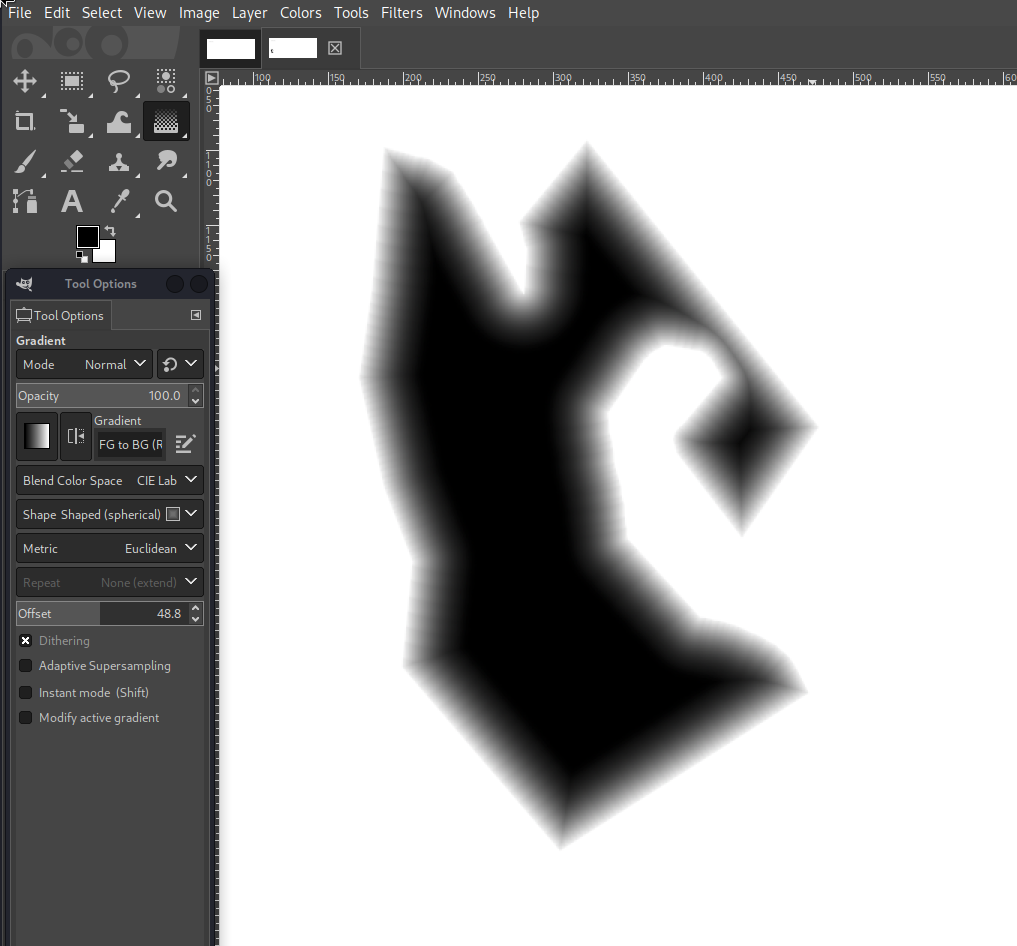
Image

Shape Shaped Spherical https://graphicdesign.stackexchange.com/questions/134410/gradient-border-using-gimp
TTTThis

Print books with LibreOffice

Garamond font

Remember, you have to put the same stack of paper into the printer twice (once for even numbers, once for odd). You just take the stack that's printed the first time, and put it back in the feed tray exactly as it sits in the already-printed tray.

Formatting:

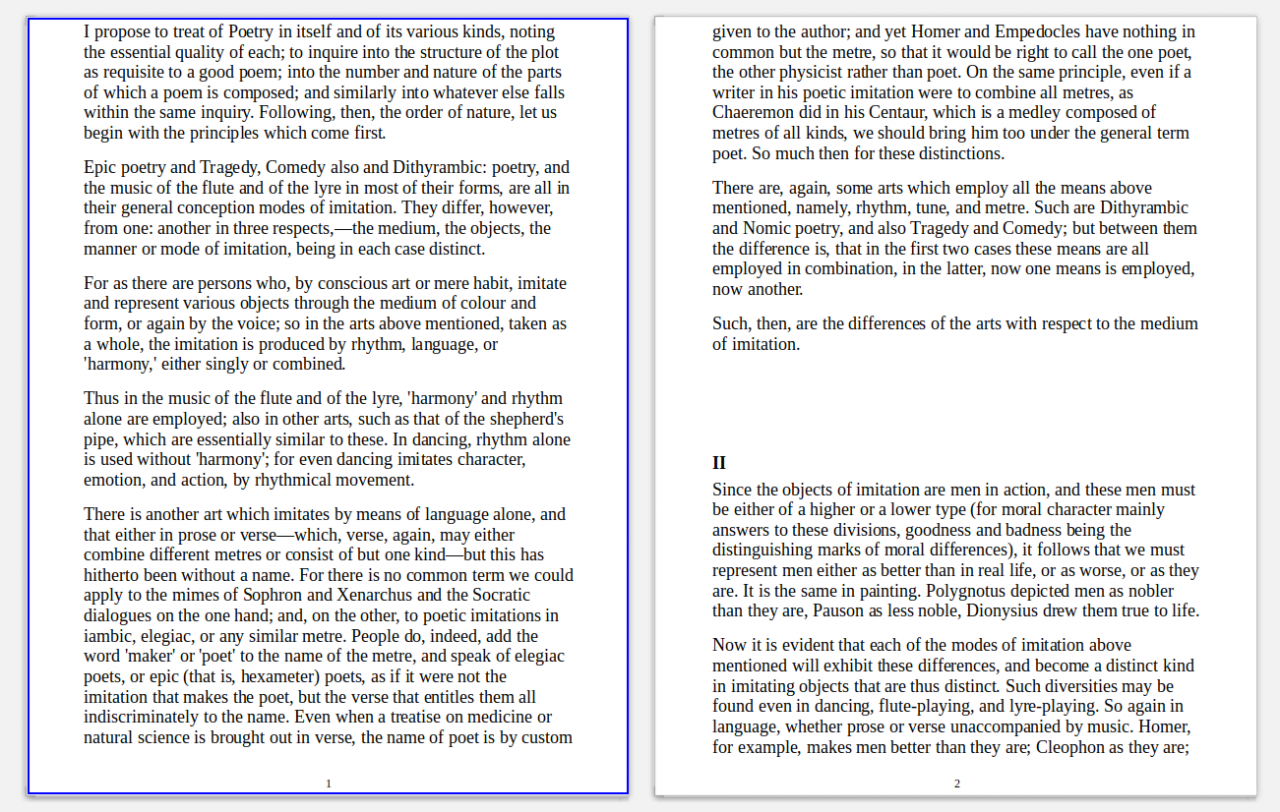
  • (Not columns) (or yes)
  • Font-size:16 (18 is a bit big)
  • Insert > Footer
  • Insert > Page number
  • Center the footer page number the regular way
  • Format > Page style > Margins: Make Top and Bottom each 0.05
  • Right click all selected text > Paragraph style > Spacing: Below paragraph 0.2
  • Right click all selected text > Paragraph style > Line spacing: Fixed 0.1

Printing:

  • even pages
  • brochure

Second print on same pages:

  • odd pages
  • reverse order
  • brochure

Image

OR:

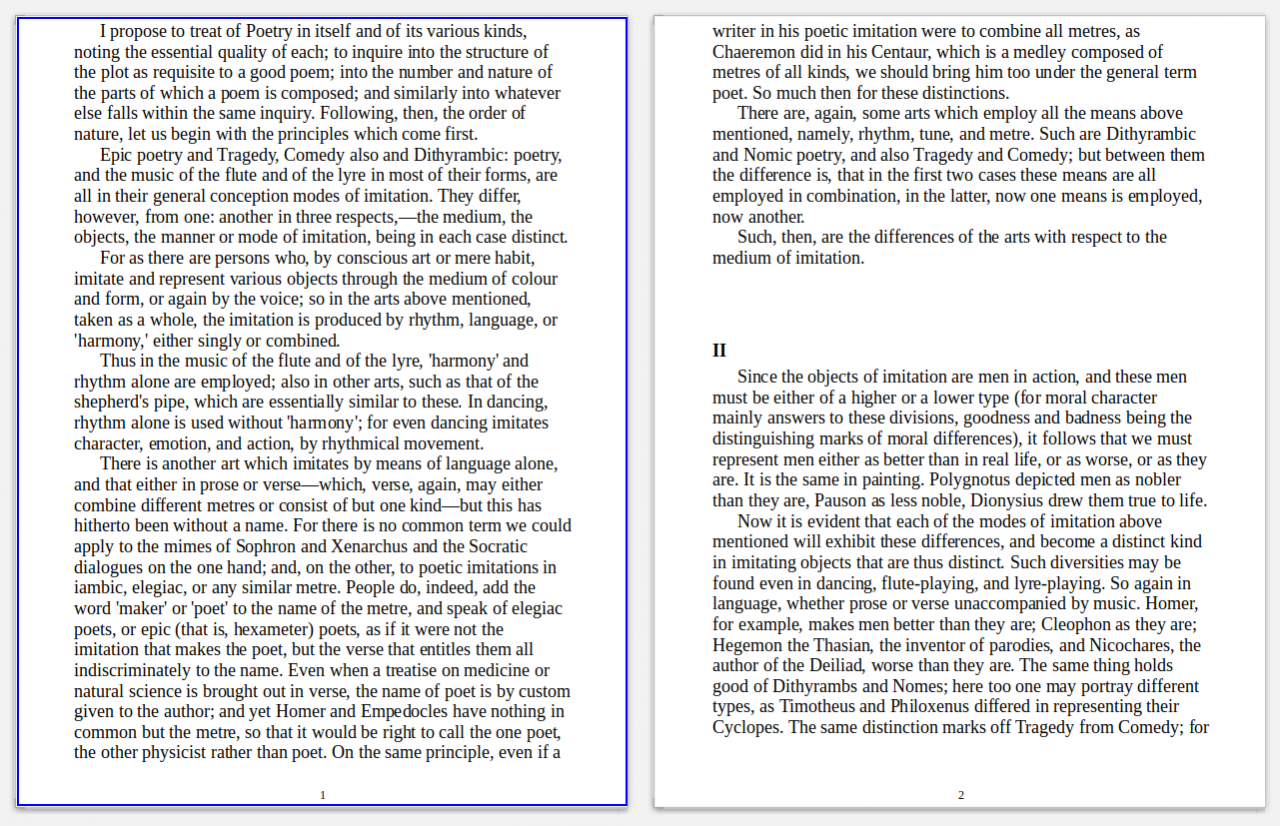
Formatting:

  • Right click all selected text > Paragraph style > Spacing: Below paragraph 0
  • Right click all selected text > Paragraph style > Indent: First line 0.35

Image


Printing

Make sure to set paper size each time

then re-organize the pages you printed so first is last (deal them down onto your desk)

TTTThis

Printing on shirts

Sublimation only works on Polyester.

Heat Transfer Printing HTV is using a Plotter-Cutter and ironing on the vinyl after you cut it. One color. However, you can also get vinyl you can print on with a regular inkjet. Also, there is a special printer called a White Toner Transfer Printer (such as the Ricoma R550) which apparently prints vinyl onto clear paper, I guess.

PRODUCTS:

Cricut brand HTV holds up best (according to a test I watched)- 35 washes without cracking). B flex is less durable.

TTTThis

Epson EcoTank L3210 printer on Linux

Newer:

Epson L320. Doesn't work if you just plug into Kali

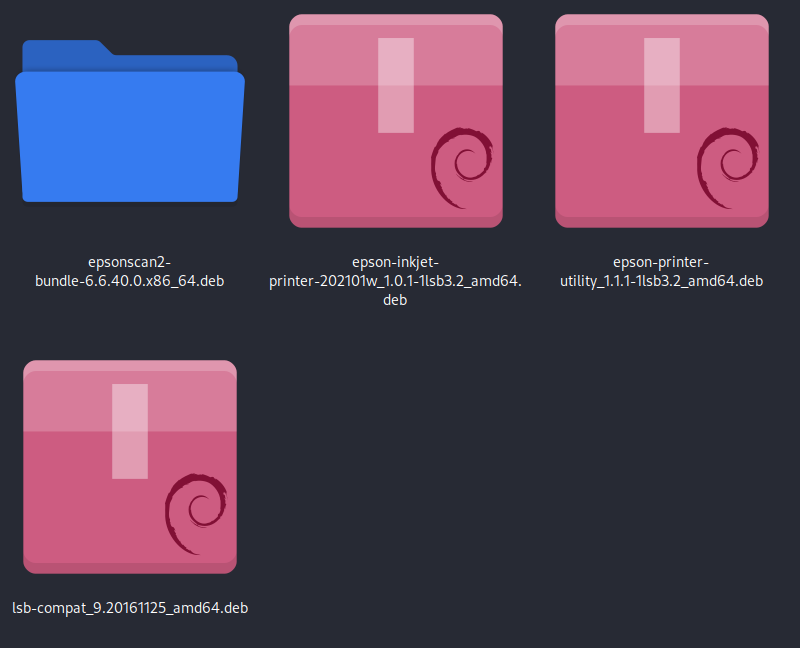
3 driver files.

  • Install the lsb one first (the others depend on it), but it needs internet to download the required parts for it
  • worked after installing the 3 things. (Not sure if it might work after just 1 or 2)
  • Later I bought a L3250 and it didn't plug and play, so I got its driver from Epson (then it goes to another site for Linux drivers), still no, so I installed the 3 .deb packages shown here also, and it worked (after reboot).

This image shows stuff. Might not need all of these.

Image


Drivers from Epson:

http://download.ebz.epson.net/dsc/search/01/search/searchModule

I think you just need the top 2, or maybe just one of them. On a 64-bit Debian install you should have selected the AMD64 versions. To check your system for 32 or 64 bits, do uname -a in Terminal.

They won't work, because Debian obsoleted lsb 3.2. You have to install it (actually, just something similar called lsb-compat) from:

http://ftp.debian.org/debian/pool/main/l/lsb/

Select and download lsb-compat_9.20161125_amd64.deb

OK, now in Downloads, install that deb package for lsb-compat. Then install the other 2 (or 1) deb packages for the Epson drivers. Assuming they/it now installs without an error message ...

Now go to menu and Printers, select ''add' and select the Epson L3210 12321231223 one) and select 'Forward,' then 'Apply'. It will offer to do a test print and if it works, it should be installed.


Notes on printing:

  • Draft versus Standard: Draft is more blurry, softer, with lighter blacks.
  • Plain Paper versus Glossy versus Epson Matte: Plain paper can produce lines
  • Other: At least in GNU, the darkness is affected by the image (probably shouldn't be). When I print without a small pink image on the overall image (collage), it is quite light. When I print with the pink image, it's dark. Note that this wouldn't be the case if I were printing multiple images on Shotwell, where the images are considered separate.
  • If you see lines on the print, you might have to go to Print Settings on the computer and select the paper type (it was set to 'paper' and I then set it to 'glossy'.
TTTThis

CAD on linux: Blender

WATCHED - Playlist

https://www.youtube.com/playlist?list=PL6Fiih6ItYsXzUbBNz7-IvV7UJYHZzCdF It is a full series of lessons

LANGUAGE

organic modelling versus (solid, rigid) precision modelling

CONFIGURATION

  • Any changes need to be saved with File > Defaults > Save Default File
  • It doesn't have ‘single verticles’ by default. Edit > Preferences > Add-Ons > (search for Extra Objects, and) Add Mesh: Extra Objects
  • Change colors of things. Edit > Pref > Themes > 3D View ( > Wire Edit for the lines)
  • Make lines thicker. Edit > Pref > Interface > Line Width: Thick
  • Turn on Snapping. Snapping button from menu > check Absolute Grid Snapping. (Now it will snap only when you are holding down CTRL)
  • PDT tools is an add-on in Preferences
  • There's a Preference also for num pad (so you can hit the numbers on a laptop, don't need a num pad)
  • To see Statistics (how many verts, edges etc). Go to Show Overlays button (overlapping circles) and click the dropdown and check Statistics
  • You can R-click the version number in the bottom-right and do Scene Statistics
  • Measurements. Overlays icon > check Edge Length. Will appear when you select things. It will not display sizes more precise than 0.1 (not 0.15). So don't rely on Edge Length overlay
  • milimeters. Scene Properties > Units, select mm, then set unit scale to 0.001

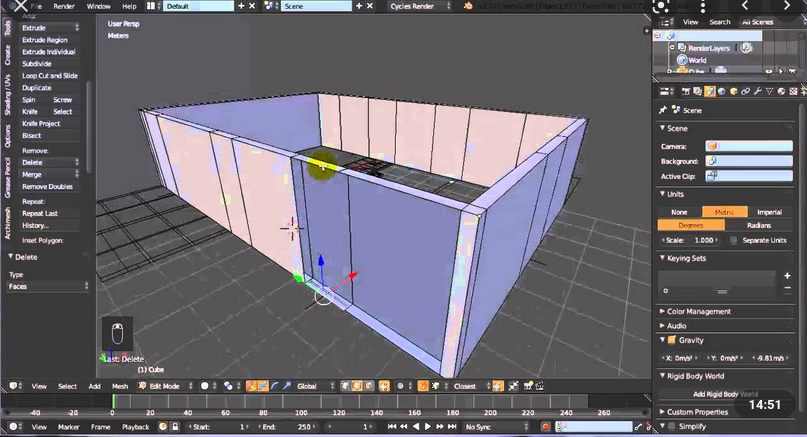
Image

Supports 3d printing modelling and file formats since 2002.

Blender 3d object drawing (in 2d) with mirror.

  • new project and 2d object. turn on grid in top-right overlays expansion. select draw tool. then on the right side select the wrench and 'add modifier' > 'mirror'
  • you will see the mirror image in one mode and only what you drew in the other, until you 'apply' modifyer.
  • apply it, then select everything by pressing 'a', then click top-left 'object' 'convert to' 'bezier' and you can unvisible the strokes so you just see the bezier lines.
  • on the scene collectionn, you will see beside 'Lines' a little curved illustration. find the same thing below and click it. go to Geometry then Bevel.
  • go to the same spot as before and 'object' 'convert to' 'mesh'. it will look the same. NOTE it has to already be bezier curved and that has to be selected in the collection.
  • beside 'edit mode' in the top-left there's three squares. pick the middle one 'edge'
  • select what edges you want to make faces for and click 'f'

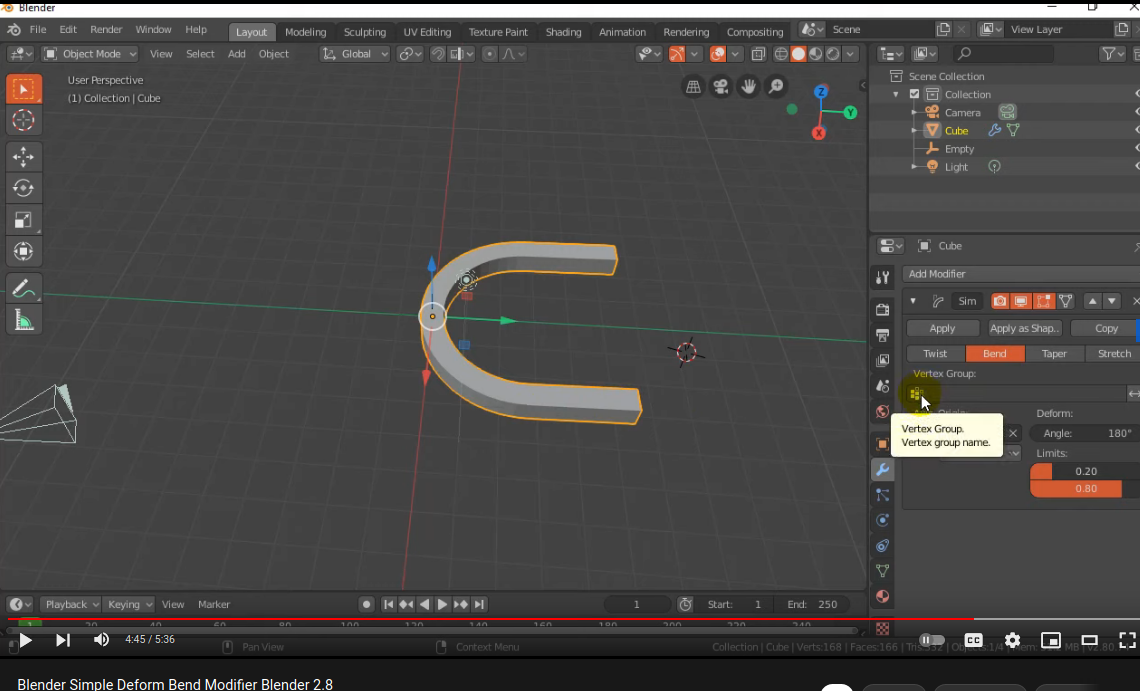
Image

TTTThis